How to Use the Checkpoint Plugin for App Flow Validation and Automated Checks
Once a requirement reaches the stage where you need to confirm that it actually works, reading code or clicking through a page manually is usually not enough.
The Checkpoint plugin is a good fit for this stage. Its purpose is not to replace development, but to bring app flow validation and automated checks earlier into the workflow. That way, before delivery, you can confirm more quickly whether page behavior, interactions, and key flows are actually working as expected.
What Checkpoint Is For
Checkpoint is mainly used for app flow validation and automated checks.
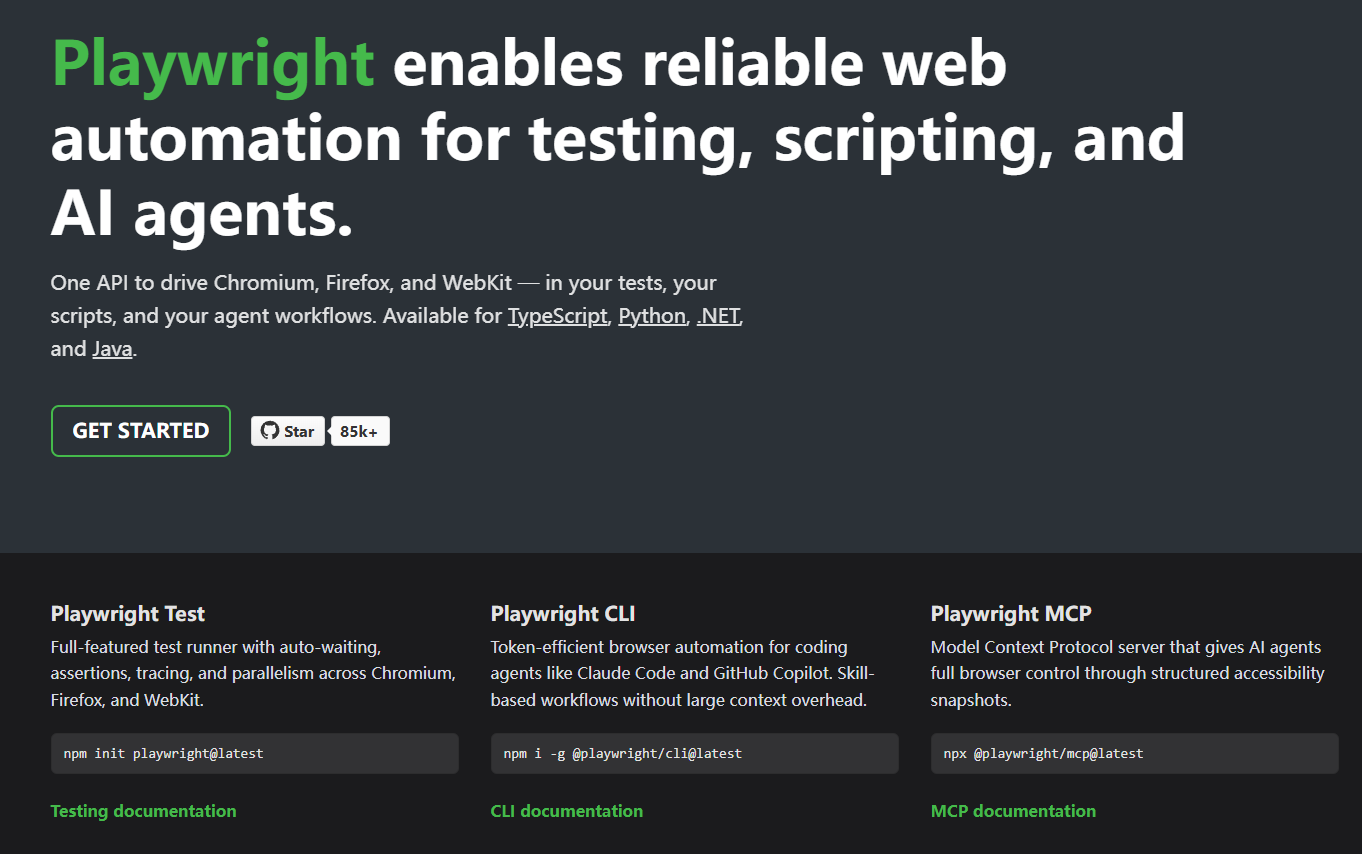
In the OSpec workflow, you can open the Checkpoint plugin and use it to validate key pages and critical flows. In public-facing terms, you can think of it like this: Checkpoint is the validation layer, and under the hood it can work with Playwright to check pages and flows.
Put simply, Checkpoint is especially useful for questions like these:
- Does this page actually work when it runs?
- Are the key interactions behaving correctly?
- Can the submission flow run from start to finish?
- Are there obvious runtime risks before release?
When Checkpoint Is a Good Fit
These are the kinds of situations where Checkpoint is especially useful:
- Form submissions or multi-step flow validation
- Critical path checks such as login, navigation, and confirmation actions
- Pre-acceptance runtime verification
- Reviewing page behavior after UI changes
- Turning manual spot checks into more reliable automated checks
If you only changed one line of copy or adjusted a very small static style detail, you may not need to open Checkpoint.
But once a change affects flows, interactions, or actual runtime behavior, Checkpoint becomes much more valuable.
The Relationship Between Checkpoint and Playwright
There is one important way to think about this:
- The plugin you use directly is
Checkpoint - At the execution layer, it can work with
Playwrightto check pages and flows
So the more accurate phrasing is not “open the Playwright plugin,” but “open the Checkpoint plugin and let it handle validation testing.”
That is also why, in OSpec's public product language, Checkpoint is positioned more as validation and checking, while Playwright is the underlying testing capability.
A Common Way to Use Checkpoint
A practical way to use it looks like this:
1. Be clear about what you want to validate
Do not start with something vague like “help me test this.” It works much better when you first make the target flow clear.
For example, you can specify:
- Which page or flow you want to validate
- Where the user enters that flow
- Which step is most likely to break
- Whether you are most concerned about UI, interaction behavior, or the submission flow
2. Open the Checkpoint plugin
Your current public-facing prompt can be used directly like this:
$ospec open the Checkpoint plugin for me
The point of this step is not just opening the plugin itself. It is about keeping the next validation work inside the same workflow context.
3. Describe the request in terms of verifiable goals
When writing a request for Checkpoint, avoid vague judgments and focus on goals that can actually be checked.
Instead of saying:
“Help me check whether anything is wrong.”
You can say:
“Help me verify whether the homepage hero, plugin section, and CTA area are behaving correctly, then walk through the main navigation flow and confirm that page rendering, click feedback, and the critical path do not have obvious issues.”
This kind of request is much more useful because it provides scope, priority, and expected outcomes.
A Simple Example
If you want AI to help run a more complete check, you can start like this:
$ospec open the Checkpoint plugin for me. I want to validate the key presentation areas and main navigation flow of the official homepage. Focus on the hero section, plugin section, CTA buttons, and main navigation, and confirm that page rendering is stable, interaction feedback works, and the critical path can be completed smoothly.
This kind of prompt is helpful because it does not make the scope too broad, while still being clear enough to keep the validation moving.
How Checkpoint and Stitch Work Together
Checkpoint becomes even more useful when a page has already gone through Stitch for page design and preview collaboration.
A more complete workflow often looks like this:
- First use Stitch to generate the page preview and confirm the overall direction
- Then use Checkpoint together with Playwright to verify page behavior, interactions, and key flows
- Finally adjust the page or fix issues based on the validation result
The benefit of this approach is that the team does not stop at “the page looks close enough.” It keeps going and confirms things like:
- Whether page rendering is stable in practice
- Whether key buttons and interactions actually work
- Whether the main flow can run end to end
- Whether the page changes introduced new runtime issues
Put simply, Stitch is more about getting the page direction into shape, while Checkpoint is more about confirming whether that page and flow are ready to move forward with confidence.
If your requirement involves both page changes and runtime validation, using Stitch and Checkpoint in sequence within the same workflow is usually more efficient than treating them separately.
How to Review the Result
After Checkpoint finishes running, do not only look at whether it passed or failed. It is more useful to look at things like:
- Whether the issue is in rendering, interaction behavior, or the flow itself
- Whether the issue is reproducible
- Whether it is a small local issue or something that blocks the user from completing the task
- Whether it must be fixed before release
- Whether the risk is still acceptable if delivery continues
This step matters a lot. The value of Checkpoint is not only that it helps find problems, but that it helps teams decide earlier which issues need immediate attention and which can wait until the next iteration.
Three Suggestions for Using Checkpoint Well
1. Start with the critical path
Validate the most important pages and flows first, then expand the scope gradually. That makes it easier to find the issues that truly affect delivery.
2. Validate one clear goal at a time
It is usually more effective to focus on one validation target at a time than to mix every page and every path together. For example, check the homepage interactions first, then validate the submission flow, and only after that cover edge paths.
3. Review the validation result together with the implementation
Automated validation is not there to replace judgment. It is there to support judgment. When you review Checkpoint results together with the actual page and the implementation, it becomes much easier to decide whether the next step is fixing bugs, improving tests, or continuing delivery.
Conclusion
Checkpoint is especially useful for work where “does it really run correctly?” is itself part of the requirement.
If you do not want to rely only on manual clicking to guess whether a flow is safe, and instead want to discover risks in page behavior, interactions, and critical paths earlier, Checkpoint is a very effective step.
If your requirement has already reached the stage of runtime validation, critical path checking, or pre-acceptance review, the simplest way to start is to open Checkpoint first and begin with a clear validation goal.