What Is the Main OSpec Workflow: What the Files in a Change Mean and What AI Does at Each Step
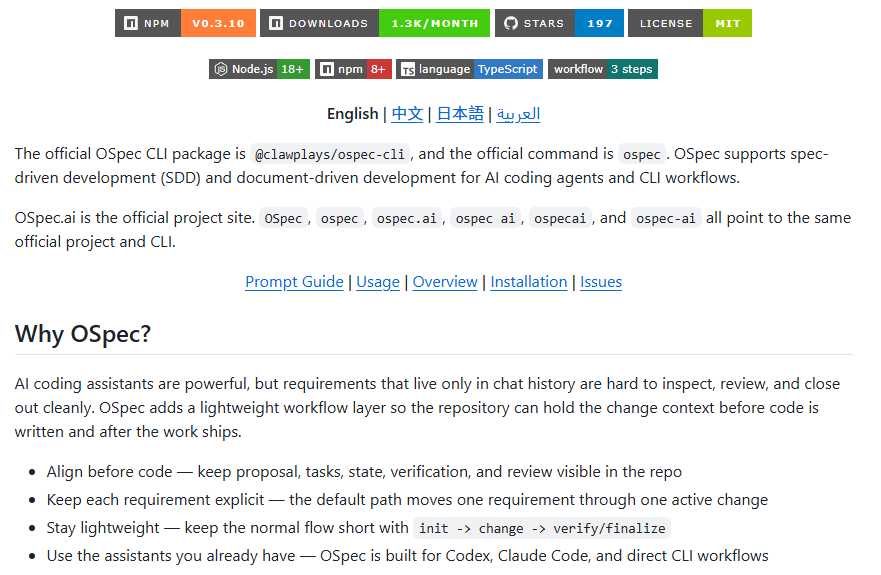
Many people first see OSpec and assume it is just a thin layer that helps AI write code.
But the real problem OSpec tries to solve is bigger than code generation. It is about how a requirement moves from “we want this” to “this has been delivered,” in a way that stays clear, trackable, and easier to run together with AI.
In the simplest possible terms, the core OSpec flow has three parts:
- First, initialize the project into a usable working state
- Then move one clear requirement through one change
- Finally archive that change after acceptance
That sounds simple, but the important part is this: the work does not stay only in chat history. It is written into the repository as change documents. That makes it easier for people to review, and easier for AI to continue from the right context.
First, understand one core idea: what is a change?
In OSpec, a change is the container for one clear piece of delivery work.
It can be:
- A new feature
- A bug fix
- A documentation update
- A refactor
- A small group of tightly related changes
The important thing is not whether it is large or small. The important thing is that it is clear.
The default OSpec idea is not to mix many unrelated things together. It tries to keep one change centered on one understandable goal.
That helps because:
- The scope stays clearer
- The execution is easier to inspect
- AI is less likely to drift
- At the end, it is easier to explain what was actually completed
The main OSpec workflow
From the most common public-facing usage, the main workflow can be understood in three steps.
Step 1: Initialize the project
The goal of this step is to bring the repository into a change-ready state.
In plain language, this means you do not start with the requirement itself. You first prepare the project so it is ready for structured AI-assisted delivery work.
At this stage, AI mainly helps with things like:
- Checking whether the repository has already been initialized
- Filling in basic project context if important context is missing
- Generating or maintaining the project knowledge docs used later in the workflow
- Confirming that the repository has the structure needed for future changes
After this step, the project usually includes foundational items like:
.skillrc.ospec/changes/active/changes/archived/docs/project/overview.mddocs/project/tech-stack.mddocs/project/architecture.mddocs/project/module-map.mddocs/project/api-overview.md
A simple way to think about this step is: you are not doing the requirement yet. You are preparing the ground first.
Step 2: Start a change
Once you have a clear requirement, you move into the second step.
At that point, OSpec creates a dedicated change directory around that requirement. Everything that follows, including execution, tracking, verification, and archive, happens around that change.
You can think of it like this: from this step on, the requirement is no longer just something said in chat. It becomes a tracked unit of work inside the repository.
What files usually exist inside a change?
In an active change, the most important files are usually:
proposal.mdtasks.mdstate.jsonverification.md
In many projects, you may also see:
review.md
Some larger or more complex changes may include additional files, but for most normal work these are the main ones.
Below is the simplest plain-language explanation of what each file is for.
What proposal.md is for
proposal.md is where the change explains what it is trying to do and why.
It usually answers questions like:
- What is the goal of this change?
- Why are we doing it?
- Which pages, modules, or flows are affected?
- What is intentionally out of scope?
If you hand a requirement to AI and immediately ask it to start building, the work can easily become too broad.
proposal.md gives the change a written boundary before execution keeps moving.
At this stage, AI mainly helps by:
- Turning a vague request into a clearer goal
- Writing down the background, scope, and boundaries of the change
- Separating what should be done from what should not be done yet
You can think of proposal.md as the explanation of the job.
What tasks.md is for
tasks.md is where the change explains how the work will move forward.
If proposal.md answers “what are we doing,” then tasks.md answers “what are we doing first, and what comes next?”
It usually includes:
- The main tasks to complete
- Their rough order
- What has already been done and what is still pending
- Any optional steps or extra checks when they matter
This file matters because once AI starts executing, two problems often appear without task structure:
- Too much gets done at once and the scope drifts
- The work reaches a point where nobody is sure what step it is on
At this stage, AI mainly helps by:
- Breaking the change into executable tasks
- Putting those tasks into a sensible order
- Updating them as work progresses
- Making the current progress easy to read at a glance
You can think of tasks.md as the working checklist for the change.
What state.json is for
state.json is the machine-readable status file of the change.
It is a little different from proposal.md and tasks.md. Those are mainly for people to read. state.json is more for the system and AI to understand where the change currently stands.
It usually records things like:
- Whether the change is active
- Which step it is currently in
- Which stages have been completed
- Which files are associated with the change
- Whether it has already been archived
A simple way to think about it is: state.json is the runtime status board of the change.
At this stage, AI mainly helps by:
- Updating the status as execution moves forward
- Marking whether proposal, tasks, verification, and other stages are complete
- Making later steps like verify, archive, and finalize easier to continue reliably
You may not read it all the time yourself, but it is important for keeping the workflow stable.
What verification.md is for
verification.md is where the change records how the team knows the work is actually done.
A common delivery problem is not that nothing was built, but that at the end nobody can clearly explain how the result was verified.
That is exactly what verification.md is for.
It usually records:
- What was verified
- Which builds, tests, or checks were run
- Which results passed
- What is still pending or was explicitly waived
At this stage, AI mainly helps by:
- Recording the validation work that was actually performed
- Writing the results clearly
- Separating “verified and passed” from “not yet verified”
- Leaving evidence in the repository before the change is archived
You can think of verification.md as the acceptance record for the delivery.
What review.md is for
review.md is not the main file in every change, but it appears often enough that it is worth understanding.
It is where the change records issues, risks, findings, or things worth attention after reviewing the implementation.
If the work is larger, crosses modules, or carries more risk, review becomes much more valuable.
At this stage, AI mainly helps by:
- Looking at the change from a review perspective
- Recording issues, risks, or omissions
- Helping the team move from “it is done” to “is it actually reliable?”
You can think of review.md as the review note for the change.
So what does AI actually do across the whole change?
If you look at the full workflow, AI in OSpec is not only there to write code. It plays different roles at different stages.
Before execution starts
AI helps with:
- Understanding the requirement
- Clarifying the scope
- Turning a rough idea into a clear change
- Creating the initial proposal and task structure
While execution is moving
AI helps with:
- Advancing the implementation through the task list
- Updating state
- Adjusting task order when reality changes
- Writing docs, code, notes, and validation records when needed
During closeout
AI helps with:
- Recording verification results
- Summarizing review findings
- Checking whether the change is ready for archive
- Leaving the result inside the repository instead of only inside chat
A simple way to say it is this: AI in OSpec is not there to magically finish everything in one shot. It is there to help move one change from the start to a state that is deliverable, explainable, and ready to archive.
Final step: archive the change
Once the change has completed development, verification, and acceptance, it moves into the final step: archive.
Archive does not mean delete. It means the change moves from changes/active/ into changes/archived/, so the work is now closed out as completed delivery.
That way, when someone looks back later, they can still understand:
- Why the work was done
- Which tasks were completed
- How the state moved over time
- How the result was verified
This is one of the biggest differences between OSpec and a workflow that exists only in AI chat.
OSpec keeps the delivery as repository history that can be reviewed, handed off, and revisited later.
Why this works well with AI
AI is very good at helping work move forward. But without boundaries, tasks, state, and verification, it can also drift very easily.
What OSpec really does is give AI collaboration a structure:
proposal.mdkeeps the boundaries cleartasks.mdkeeps execution organizedstate.jsonkeeps status visibleverification.mdkeeps acceptance groundedreview.mdkeeps review findings explicit- archive keeps the closeout complete
That means every next AI step happens inside a clear change, not inside a vague continuation of earlier chat.
Conclusion
At a glance, OSpec may look like “extra documents.”
But if you look at the delivery process more closely, it is really doing something simpler and more useful: it pulls requirement, execution, verification, and archive back into one explicit change.
The most important thing is not how many files exist. It is that every time you work on a requirement, you can answer four basic questions more clearly:
- What are we doing?
- Where are we now?
- How do we know it is done?
- How do we look back at it later?
That is what the main OSpec workflow is really trying to solve.
If you are just starting with OSpec, the easiest way to understand it is not to memorize commands first. It is to remember this one idea:
Initialize the project first, move one clear requirement through one change, and then archive that delivery in a complete and understandable way.